





How to Cut Wall Panels
Cutting wall panels is relatively straightforward when you have the correct tools and take accurate measurements. Whether you're installing PVC, plywood or MDF wall panels, taking your time when measuring and cutting will help you achieve a clean, professional finish.
What You Will Need
- Pencil
- Tape measure
- Straight edge or ruler
- Fine-toothed handsaw or jigsaw
- Stanley knife (suitable for certain thin PVC panels)
- Suitable protective equipment
What Tool Should I Use to Cut Wall Panels?
The best cutting tool will depend on the type of wall panel you're installing.
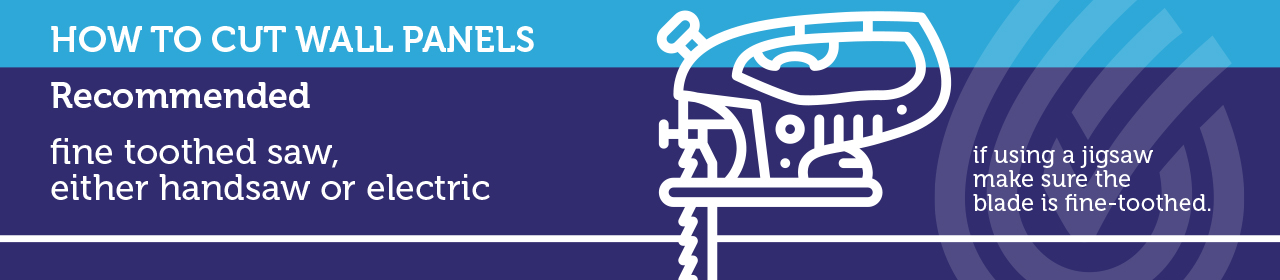
For PVC, plywood and MDF wall panels, we generally recommend using a fine-toothed handsaw or jigsaw. A fine blade will help produce a cleaner cut and reduce the risk of damaging or chipping the decorative surface.
If you're cutting thinner PVC ceiling panels, a sharp Stanley knife may also be suitable.
Always make sure you're using a cutting tool and blade appropriate for the material you're working with.
How to Cut a Wall Panel
Step 1: Position the Panel
Place the wall panel on a flat, stable and secure surface before cutting.
Position the panel with the decorative face facing downwards and the back of the panel facing upwards. Make sure the decorative face is properly protected wherever it comes into contact with your work surface to prevent scratches or other damage.
Step 2: Measure the Panel
Using your tape measure and pencil, carefully mark the required measurement on the back of the panel.
We recommend making at least two measurement marks — one towards each side of the panel — so you can create an accurate cutting line.
Before cutting anything, measure the installation area again and double-check your panel measurements. Remember the old rule: measure twice, cut once.
Step 3: Mark Your Cutting Line
Using a ruler or straight edge, connect your measurement marks to create a clear, straight cutting line across the back of the panel.
Check your measurements one final time before making the cut.
Step 4: Cut the Wall Panel
Using your chosen cutting tool, carefully start the cut at one edge of the panel.
Slowly work your way along the marked line, allowing the saw or jigsaw blade to do the work rather than forcing it through the material.
Try to maintain a smooth and controlled cutting motion throughout. This will help produce a cleaner, straighter edge and reduce the risk of damaging the panel.
Once cut, check the panel against the installation area before applying adhesive or sealant.
Important Cutting Tip
Always cut wall panels from the back wherever appropriate, particularly when using a jigsaw, as this can help protect the decorative face. The correct cutting direction can vary depending on the tool and blade being used, so always follow the cutting-tool and panel manufacturer's recommendations.
Taking a little extra time to measure, mark and cut your wall panels accurately can make a significant difference to the finished installation.
Other useful Guides:
If you are unsure about anything please give us a call on 0300 3035553 or email us at websales@wetwallworks.co.uk